What happens during a solar roof survey
Why a survey comes before a final price
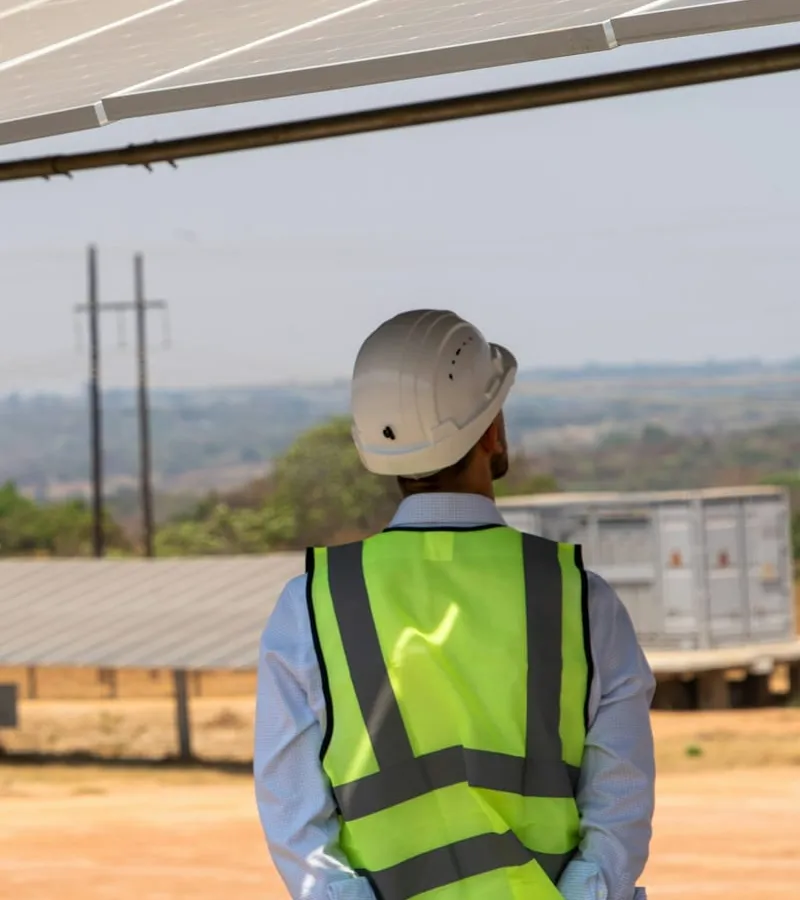
Satellite images and online calculators give a useful first estimate, but they can’t see the condition of your roof, the space in your fuse box, or the tree that shades the panels every winter afternoon. A survey turns an estimate into a design and a fixed price. It usually takes one to two hours and doesn’t commit you to anything.
Before the visit
You can make the survey faster and more accurate with a little preparation.
- Have twelve months of electricity bills or meter readings ready
- Know roughly how old the roof is and whether it has had repairs
- Clear access to the loft, the fuse box, and the electricity meter
- Think about where an inverter and a battery could go
- Write down questions about future plans such as an electric car or heat pump
Outside: the roof
Measurements and orientation
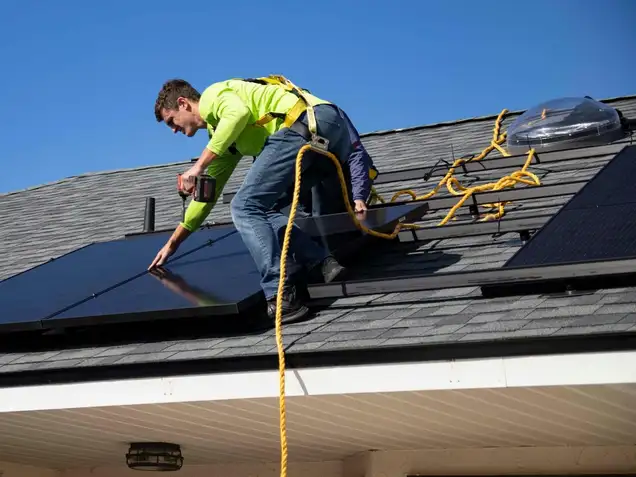
The surveyor measures each roof face, its pitch, and the direction it faces. Many use a drone or a laser measure, so climbing onto the roof is often unnecessary. These measurements decide how many panels fit and how much they will produce.
Roof covering and condition
Tiles, slate, metal, and flat membranes each need a different mounting system. The surveyor checks for broken tiles, sagging, moss, or signs of leaks. If the roof will need replacing within the next ten years, it is usually cheaper to do that first.
Shade
Chimneys, vents, dormers, trees, and nearby buildings are noted, often with a shade analysis that shows how shadows move through the year.
Inside: structure and electrics
The loft
From inside the loft, the surveyor checks rafters, roof boards, and any signs of damp. This confirms that the roof can carry the extra weight and shows where fixings can go.
The electrical supply
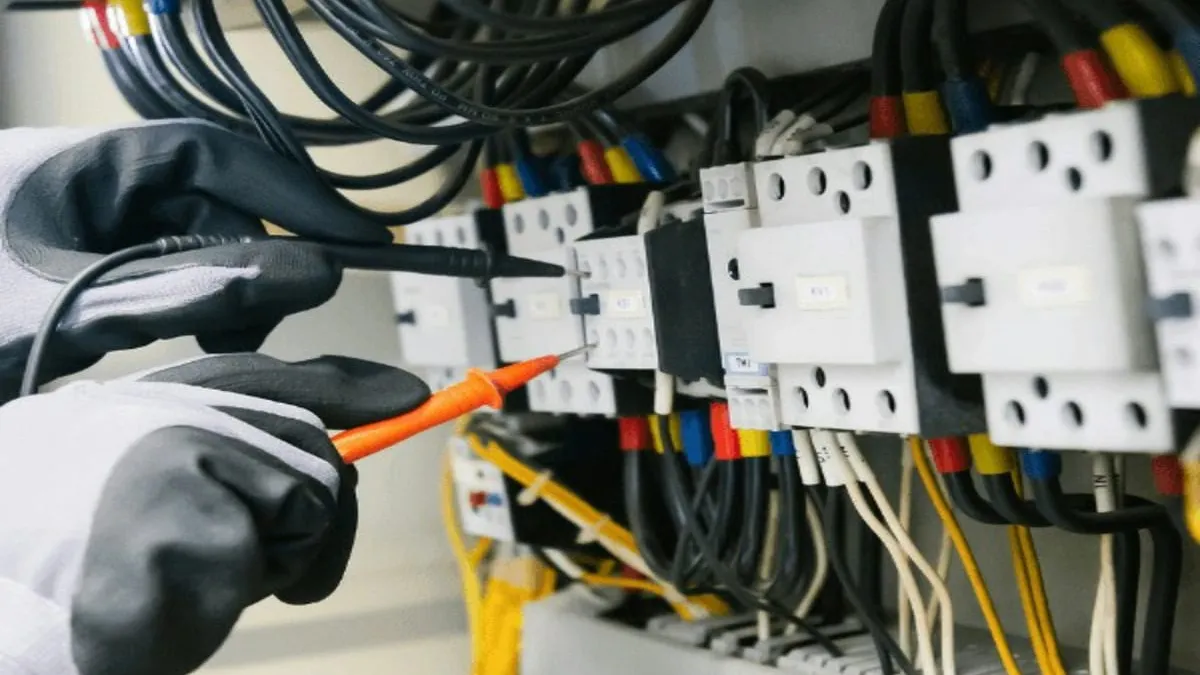
The fuse box and meter are checked to see whether there is space for a new circuit, whether the main fuse is large enough, and whether any upgrades are needed. Older installations sometimes need a new consumer unit before solar can be connected.
Equipment locations
You agree together where the inverter, isolators, and any battery will be mounted, and how cables will run from the roof. Good locations are cool, dry, and easy to reach for maintenance.
What you receive afterwards
Within a few days, you should get a written proposal based on the survey. Check that it includes:
| Item | What to look for |
|---|---|
| Panel layout | A drawing of each roof face with panel positions |
| Production estimate | Yearly output, with shade losses included |
| Equipment list | Panel, inverter, and battery models with datasheets |
| Electrical work | Any upgrades needed to your supply |
| Scaffolding and access | Included or listed separately |
| Price | A fixed total, with what is and isn’t included |
| Timeline | Expected installation date and grid paperwork |
Red flags to watch for
- A price given without anyone looking at the loft or fuse box
- Production estimates that ignore obvious shade
- Pressure to sign on the day of the survey
- No clear answer about who handles grid notification
After you accept
Once you approve the design, the installer orders equipment, books scaffolding, and submits any grid paperwork. Installation on a typical home takes one to two days, followed by testing, commissioning, and setting up your monitoring app.
A thorough survey is the best protection against surprises later. Take the time to walk through it with the surveyor, ask questions, and make sure the final proposal reflects what you discussed.